If honey is properly ‘cured’ (dehydrated by the bees through wing-fanning to a specific moisture content), it will last indefinitely when stored properly. If the honey is ‘wet’ (more than about 19% moisture content), though, it will ferment. This year, we had quite a bit of wet honey so we decided to try our hands at making mead (honey wine)!
We used the book The Compleat Meadmaker as our basic guide, along with a bunch of specific recipes from various sources online. We decided to try out three meads – a cyser (apple cider mead), a ginger mead, and a plum melomel.
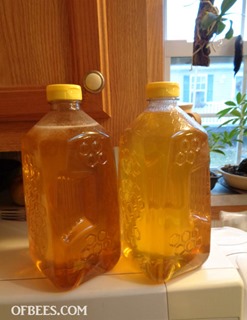
Each of these containers holds five pounds of honey. You can see the difference in the color, which comes from different floral sources. Each hive’s honey is unique, and even within the hive it can be different! You can see the bit of foaming at the top here – that is fermentation started by wild yeasts. They have a very low alcohol tolerance, so they tend to produce a tiny bit of alcohol and then die off, which halts the fermentation process. It’s not really good for storing long-term, however, and the honey in this state has a chance of going bad. We check all our honey with a refractometer before bottling, to be sure of the exact moisture content.
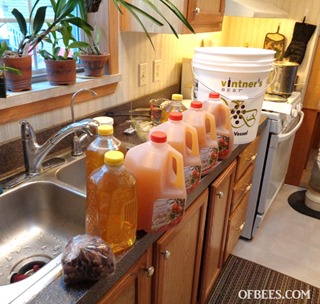
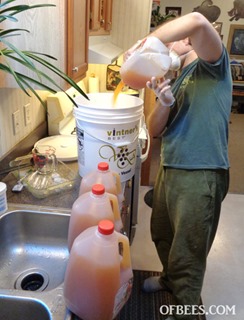
Here Roman is pouring gallons of pure local apple cider into a bucket (all of the equipment is sterilized). The cyser required four gallons of apple cider and fifteen pounds of honey.
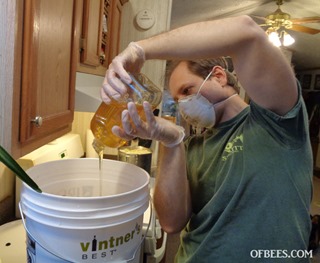
Adding the honey! We decided to use raw honey and not boil/sterilize it first. We knew this meant a chance of wild yeasts competing with the commercial yeasts we’d be adding, and could result in possible off-flavors – but on the flip side it kept all the aromatics of our really wonderful honey intact and could produce a much more wonderful mead in the end. It’s a gamble, but after talking to a few meadmakers and the local brewing supply shop, we were comfortable enough to give it a try. All in all we used about 35 lbs of honey in the process.
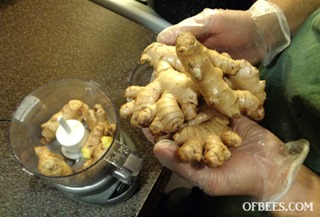
For the ginger mead, we used over three pounds of organic ginger.
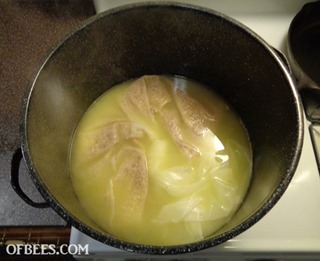
The chopped ginger being sterilized in preparation for use. It’s important everything in the process is sterilized so you don’t end up with unwanted organisms growing in your mead.
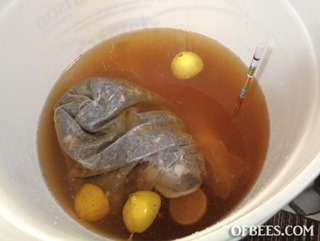
This is the base for the plum melomel – lemons, rosehips, lemon balm, and a few other ingredients. You can see the glass hydrometer floating in it – we kept notes on the starting gravity of the starting mead and checked it as the fermenting process went along so we could tell the alcohol content of the finished product.
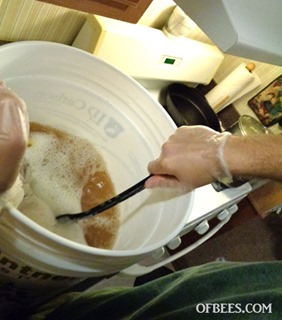
Stirring everything together!
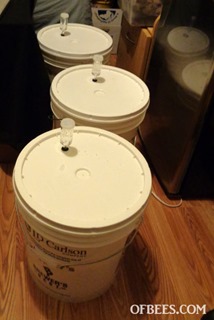
Here are the three batches of mead with air-locks installed. It was amazing to see the next day all the bubbling going on already from the fermentation starting up.
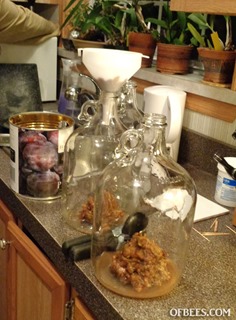
Fast forward now to a few months later, after the fermentation had stopped. We were ready to rack the mead (moving it from the original containers into glass carboys to let it mature and clarify) – since we chose to add plums into the secondary fermentation of the melomel, here you can see the chopped plums being added.
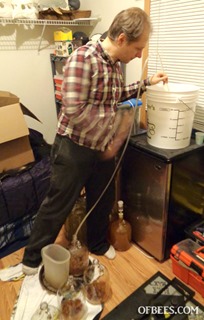
Roman racking the mead using a siphon. There is a sludgey substance at the bottom of the containers called ‘lees’ which you don’t want to disturb so you end up with a much more clear mead. Often mead is racked a few times over a period of months to get it really pretty and clear.
Beautiful cyser!
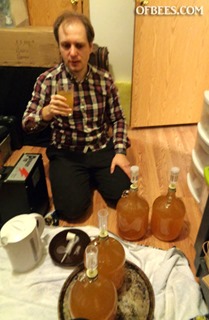
Amazingly, the mead actually tasted like mead! We took a bit of each to check it, and they were all quite good – we’re very happy since it is our first try at fermenting anything alcoholic! The cyser ended up sweet and only 5% alcohol, the ginger mead about 10%, and the melomel base over 15%, quite strong! We tried using different strains of yeast in each batch, I think that had a lot to do with the differences.
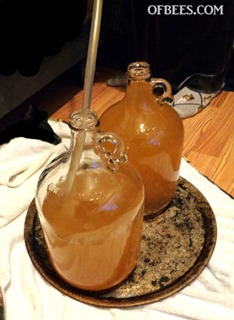
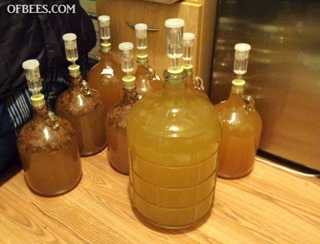
The mead after racking! We ended up with eleven gallons of mead! Now we’ll let it sit for about six months or more before we do a final racking/bottling and see how it tastes as a more finished product. It will probably be a year or more before it’s ready to drink and all the flavors mellow out. It was really fun and exciting, I can’t wait until we have our own apples and fruit to experiment with and make different flavors!

 January 29th, 2015
  Foxfeather Ženková
 Posted in
